Hey everyone! I am really excited about this project. I did it without a pattern, it was VERY simple. I hope that the tutorial will make it easy for you to do the same!
Supplies you'll need for this project: Keep in mind that the fabric measurements are just a guesstimate, you may need more if your kid is bigger than mine.
- About a yard of cute fabric
- Vinyl (I got mine at Walmart. It is really cheap. Less than $2 a yard) I bought a yard, it was too much, but I'll have plenty for another project.
- Bias tape one package (One package was exactly perfect for my son's size)
- Of course you'll need a sewing machine, tape measure, scissors, and pins.
 |
Measure your child, I wanted to make it a bit bigger so that he could wear it for a while. I did 23" long by 14" wide. But, You can adapt it anyway you want. |

 |
The neck hole. I first did a rounded one, but changed it to a squared neck. I am posting the rounded because it would be way easier to put the bias tape on. |
 |
The line for where the arms go, again adjust it to fit your child's needs. |
 |
The cut arm hole. |
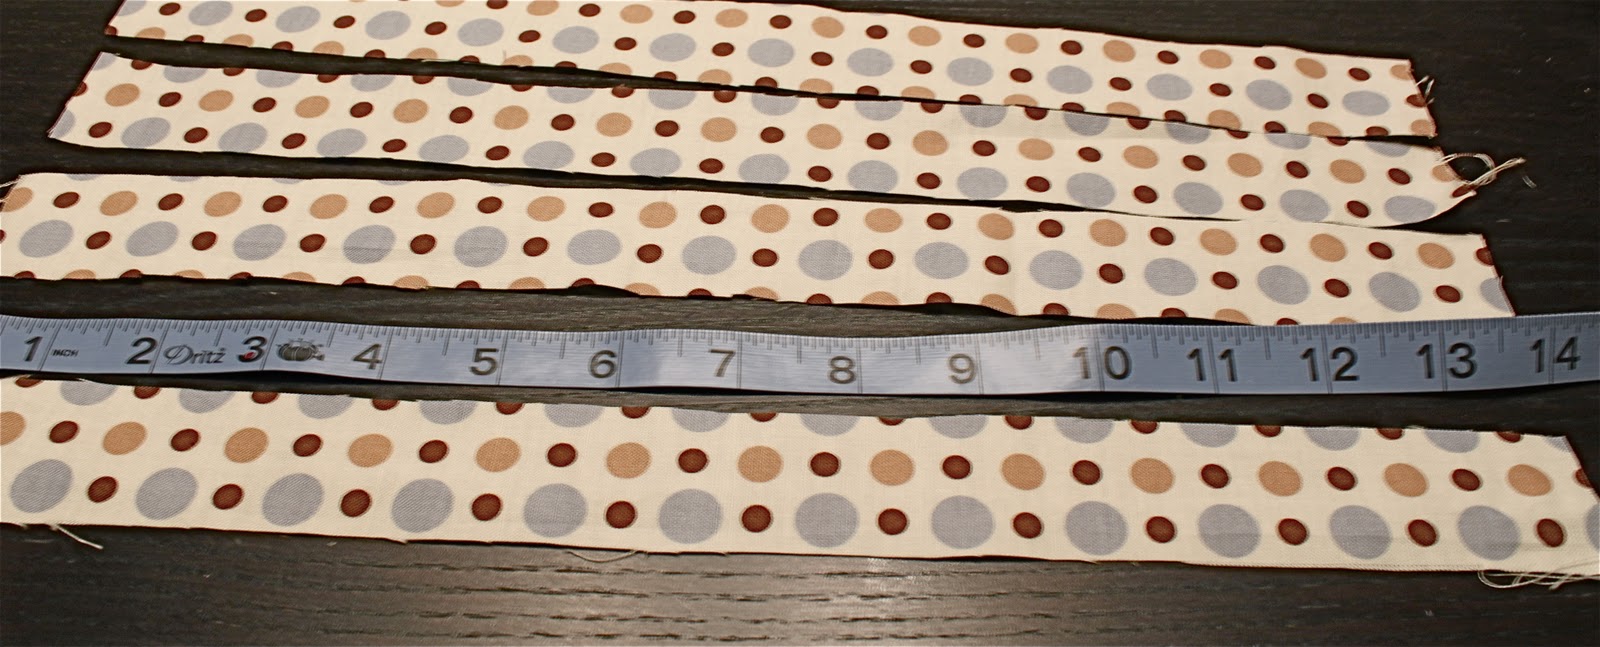 |
These are the straps that will be sewn onto the top to hold up the smock around his neck, and to tie around his waist. I made mine 14" long and about 1 1/2" wide. |
 |
The steps I took for the straps are (from left to right): 1: Iron one side down, about 1/4" seams. 2: Iron down the next side. 3: Iron down the ends, you can also trim the corners so it would lay down more flat, according to your fabric. 4: Fold the fabric in half and pin. |

 |
The pocket: I made mine 11" x 5" remember to add for seam allowance. |
 |
For the pocket's seam allowance, I did the same as the straps, 1/4", the bottom I did do a bit bigger, though. |
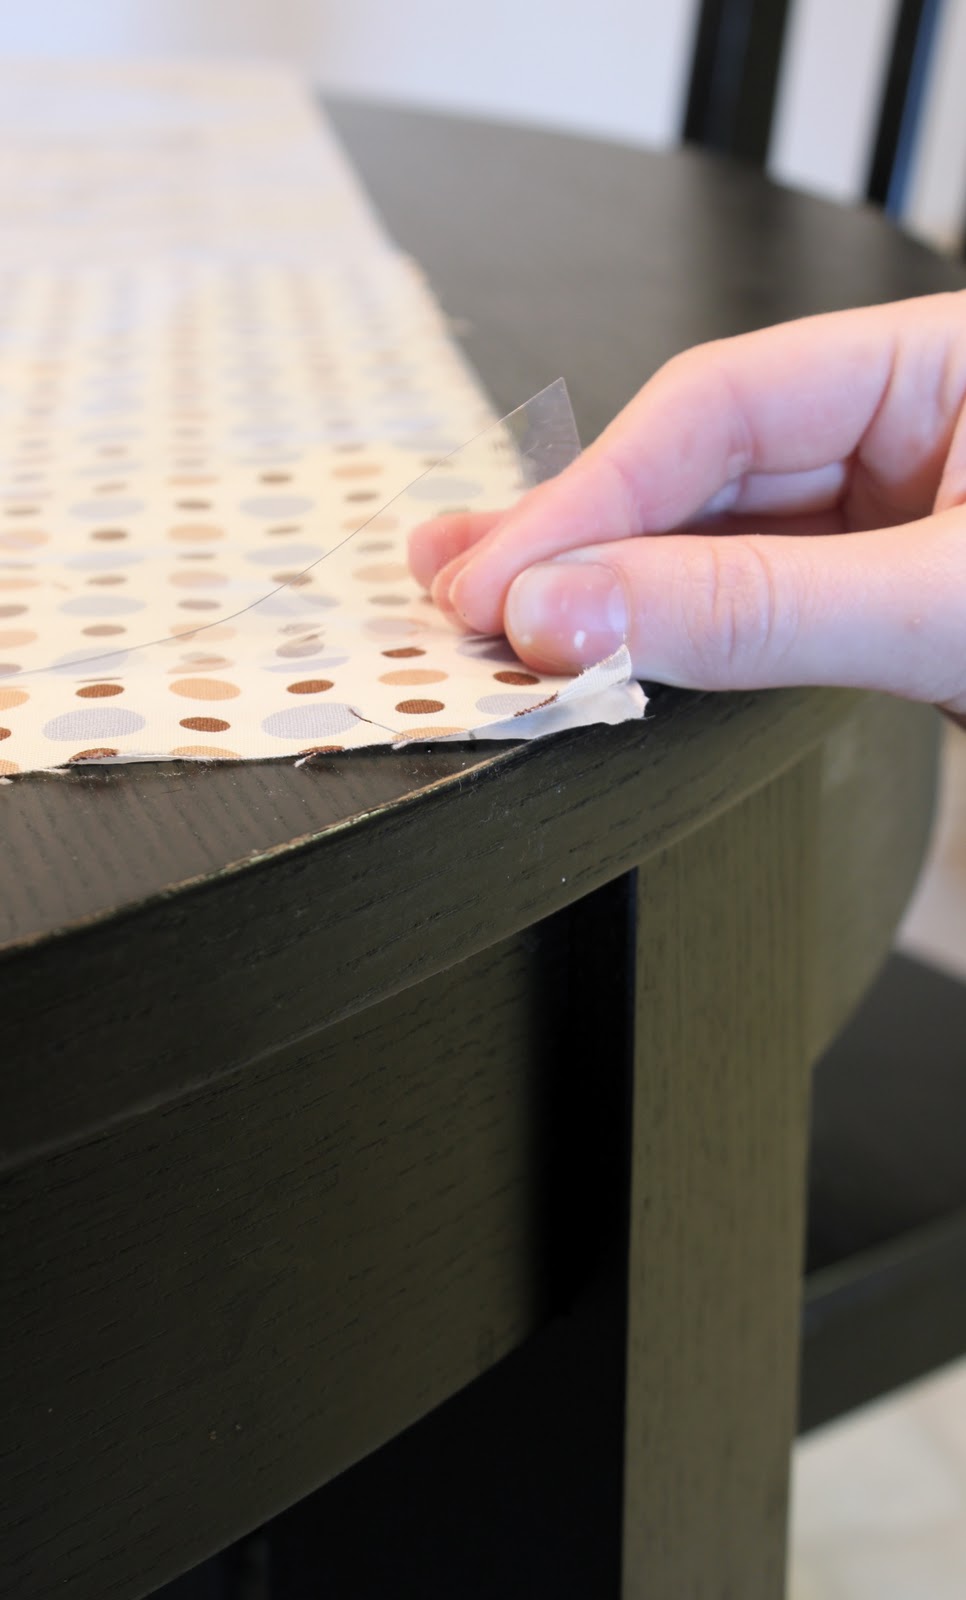 |
Place the vinyl over the fabric, I placed mine so I would only have to cut on two sides, instead of 4. |
 |
I traced the shape of the smock with a Sharpie. |

 |
Cut along the line. |
 |
Pin the vinyl over the fabric with the bias tape. This was my first time using bias tape, it was really easy to use, and made my job a LOT easier (I |

 |
The end of the tape. I just folded it under, and made it look pretty. |
 |
I try to do all of the sewing for the project around the same time, for me it just works that way. I sewed on the bias tape and did the straps at the same time. |

 |
Sew the strap onto the shoulder. |
 |
Pin and sew on the pocket. I also sewed a line down the center of the pocket so that there was a divider to hold his various art supplies. |


 |
The finished project! |
 |
I have the next DaVinci on my hands! |
 |
The best part? Since there is vinyl over the fabric, I can just wipe it down with a cloth and it's as good as new! |

I hope that this tutorial was helpful to you. If you have any questions, email me and I'll be happy to get back to you.
Linking to Freckled Laundry
7 comments:
You are one talented, creative chick! I can't wait to see all your projects. Hurry. Make something.
Thanks, Eileen! I have some pretty awesome ideas, if I say so myself!
Totally love this one Erin especially the little guy wearing your awesome smock!!
Very cute idea! I'll have to remember this one!
found my darling grandson linked over at freckled laundry! Love that little one!!!!
This looks great!!
Precious...the smock and the adorable child! He's a cutie. Thanks for linking with air your laundry Friday!
xoxo,
Jami
www.freckledlaundry.com
Post a Comment